How to apply caulking
Weatherizing reduces your home’s energy use. It not only blocks air leaks effectively, it prevents moisture from getting into insulation or the building envelope.
-

Time: 1 hour -

Difficulty: 2/5 -

Investment: $low -

Yield: $$$high
Caulking: A worthwhile project!
Reasons to apply caulking
Did you know that heating accounts for over 50% of your annual electricity bill? To save more without sacrificing comfort this winter, try our caulking tips.
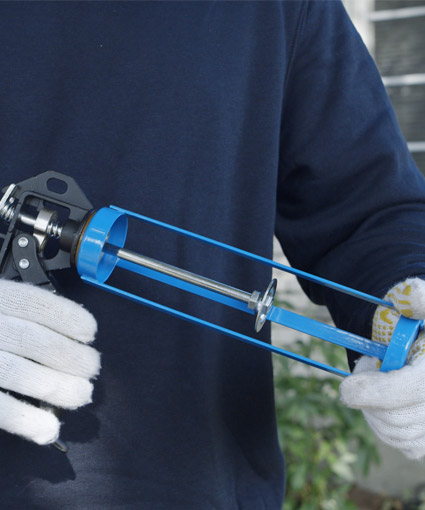
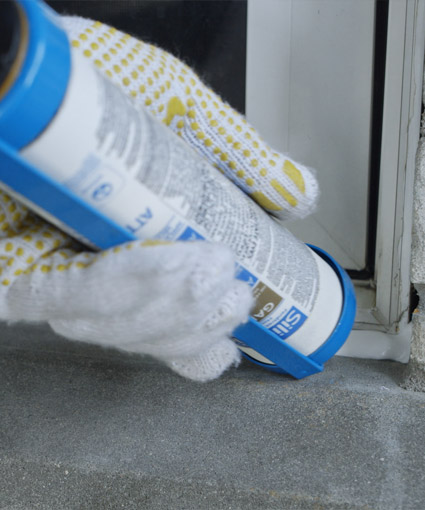
How to apply caulking
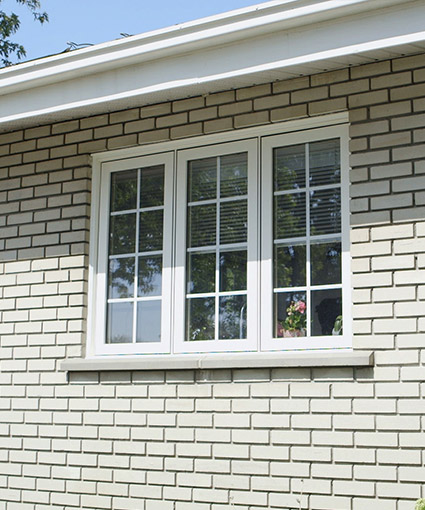
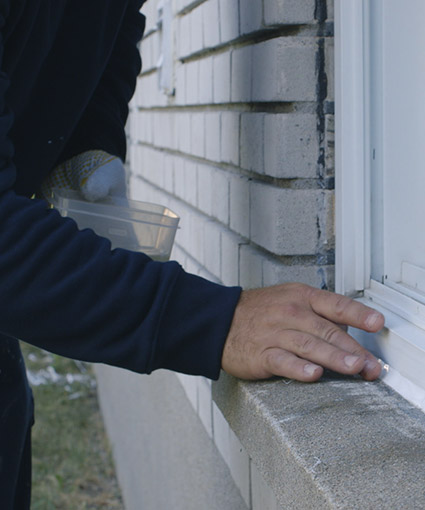
Most air leaks are around windows, so it’s important to check them. In this tutorial, you’ll learn how to caulk your windows.
What you need
- Caulking gun
- Caulking compound (such as silicone)
- Rag
- Bowl of soapy water
- Foam backer rod or foam rope (if necessary)
- Lit candle or a thin sheet of paper (if necessary)
- Other tools (if necessary)
Important concepts
- Be sure to choose a good quality caulking compound well suited to the task. Cheap compounds are often difficult to apply and lack durability.
- Follow the instructions on the cartridge and check what you need for cleanup (water or special solvent).
- While you are caulking your doors and windows, take the opportunity to add or replace weather stripping and gaskets as necessary, to eliminate air leaks as much as possible.
- Remember that a building needs some fresh air coming in. If you think your house may have problems in that area, consult a heating system specialist.
- lit candle or a thin sheet of paper (if necessary)
- Do your caulking in dry weather, preferably. Do not try to caulk in an area where the temperature is below 5°C (41°F). The compound will become stiff and difficult to work with.
- Purchase enough caulking. One standard-sized tube will make a bead 6 mm (1⁄4 in) wide and 7.6 m (25 ft) long.
How-tos

Special instructions for particular leaks
Here are some practical tips on sealing the most common air leaks.
What you need
- Foam gaskets for outlets
- Caulking kit (if necessary)
- Socket safety plugs (if necessary)
- Airtight plastic electrical box (if necessary)
Air leaks may occur at various locations in your house and each has its own special features. Take these tips for maximum weatherizing.
- If air is leaking around outlets on outside walls, caulk them. Be sure to check outlets on inside walls, too, because they can also let air in and out.
- First turn off the power by tripping the circuit breaker or removing the fuse. Check that it’s off by plugging in a light or other device.
- Apply CSA-approved foam gaskets for outlets between the plate and the box.
- Insert safety plugs in unused outlets.
- When you install a new outlet, place it in an airtight plastic electric box that you can buy at a hardware or electrical supply store. Seal the line’s entry point and the opening in the wall’s air barrier.
What you need
- Caulking kit
Air leaks may occur at various locations in your house and each has its own special features. Take these tips for maximum weatherizing.
- Seal areas of air leakage around all baseboards, mouldings and window and door casings.
- For small leaks, this can be done easily by sealing all the joints with a flexible caulk that is clear, paintable or of a matching color.
- For major air leaks, carefully remove the trim and seal behind it. Insulate wide cracks with a foam backer rod or foam rope and seal them with caulking or the appropriate type of polyurethane foam.
- If you remove baseboards, you might also be able to caulk between the wall finish and the bottom wall plates, and between the plates and the floor.
What you need
- Glazing compound (if necessary)
- Putty knife
- Hair dryer (if necessary)
- The seal between glass and its wood frame should be tight.
- Check the glazing carefully and be certain that all the seals are intact, with no cracks or missing sections.
- If you find any cracks, repair them with glazing compound, which lasts longer and stays semisoft and usable longer than putty.
- First remove the old putty with a putty knife or utility knife. If the old putty is hard and brittle, soften it up with a hair dryer.
- Apply glazing compound with a putty knife. Press it firmly into the space for a good seal and then paint, allowing the paint to just touch the glass.
What you need
- Heat-resistant caulking compound (if necessary)
- Caulking kit (if necessary)
- Close the chimney damper when a fireplace is not in use.
- Take a flashlight and make sure the damper fully closes. If it does not, have it repaired by a certified chimney specialist.
- However, even with the damper closed, a great deal of heat may still escape up the chimney. You can install tight-fitting glass doors, but be aware that most are not very tight or effective.
- The door frame should be tightly sealed to the fireplace with noncombustible caulk.
- The frame should include a combustion air gate or damper. The air gate permits entry of combustion air from the outside to supply the fire, but when not being used, the air gate should be closed.
- Ask for door kits at your wood-burning appliance dealer or local building-supply outlet.
- Seal an unused or seasonally used fireplace by putting an airtight plug of some sort in the chimney or across the fireplace opening. This can be made from board material that is cloth-covered and provides a good seal at the edges.
- Check for air leaks where the chimney meets the wall (remove the trim if necessary). Caulk this joint with a high-temperature caulking.
There may be a large gap where a masonry chimney rises through the attic. This space can be partially sealed by stuffing it tightly with pieces of mineral wool batt. Do not use any material that is, or may become, flammable. For greater effectiveness, cut pieces of sheet metal to fit around the chimney. Seal all the joints with a flexible, heat-resistant sealant.
If you have a metal chimney rising through the attic, do not insulate closer than 50 mm (2 in.) as this can create hot spots in the chimney lining and can present a fire hazard. Instead, install a collar of metal or other fire-resistant material around the chimney and caulk to prevent air leakage into the attic.
Source : Natural Resources Canada
Chimney
Chimneys pose particular challenges for air-sealing and insulating.
SAFETY WARNING : Fire safety is a real concern when air-sealing and insulating. Refer to Fire and other hazards in attics , for methods of dealing with this area.
What you need
- Caulking kit
- Weather stripping
- Insulation
- Hooks and eyes
- Seal the attic hatch exactly as you would seal an exterior door.
- Caulk around the frame and between the casing and the ceiling drywall.
- Weather-strip along the edges of the casing or the access panel itself.
- Finally, install hooks with eyebolts or some sort of latch mechanism to hold the hatch firmly against the weather stripping.
- The hatch itself should be insulated.
Did you know?
Up to 25% of your home’s heat may be escaping. All together, air leaks could amount to a hole the size of a basketball! Fortunately, caulking is a cheap solution.